- Joined
- Jul 2, 2013
- Messages
- 47
- Reaction score
- 86
3D model importing has been a known and used feature of SMedit for quite a while now.
In the past there were two ways of going about this: directly put an .obj file into SMedit or convert the .obj to .binvox first.
This guide describes a third alternative, which is far more accurate than SMedit's own polygon to block converter and orders of magnitude faster than the binvox route (once properly set up).
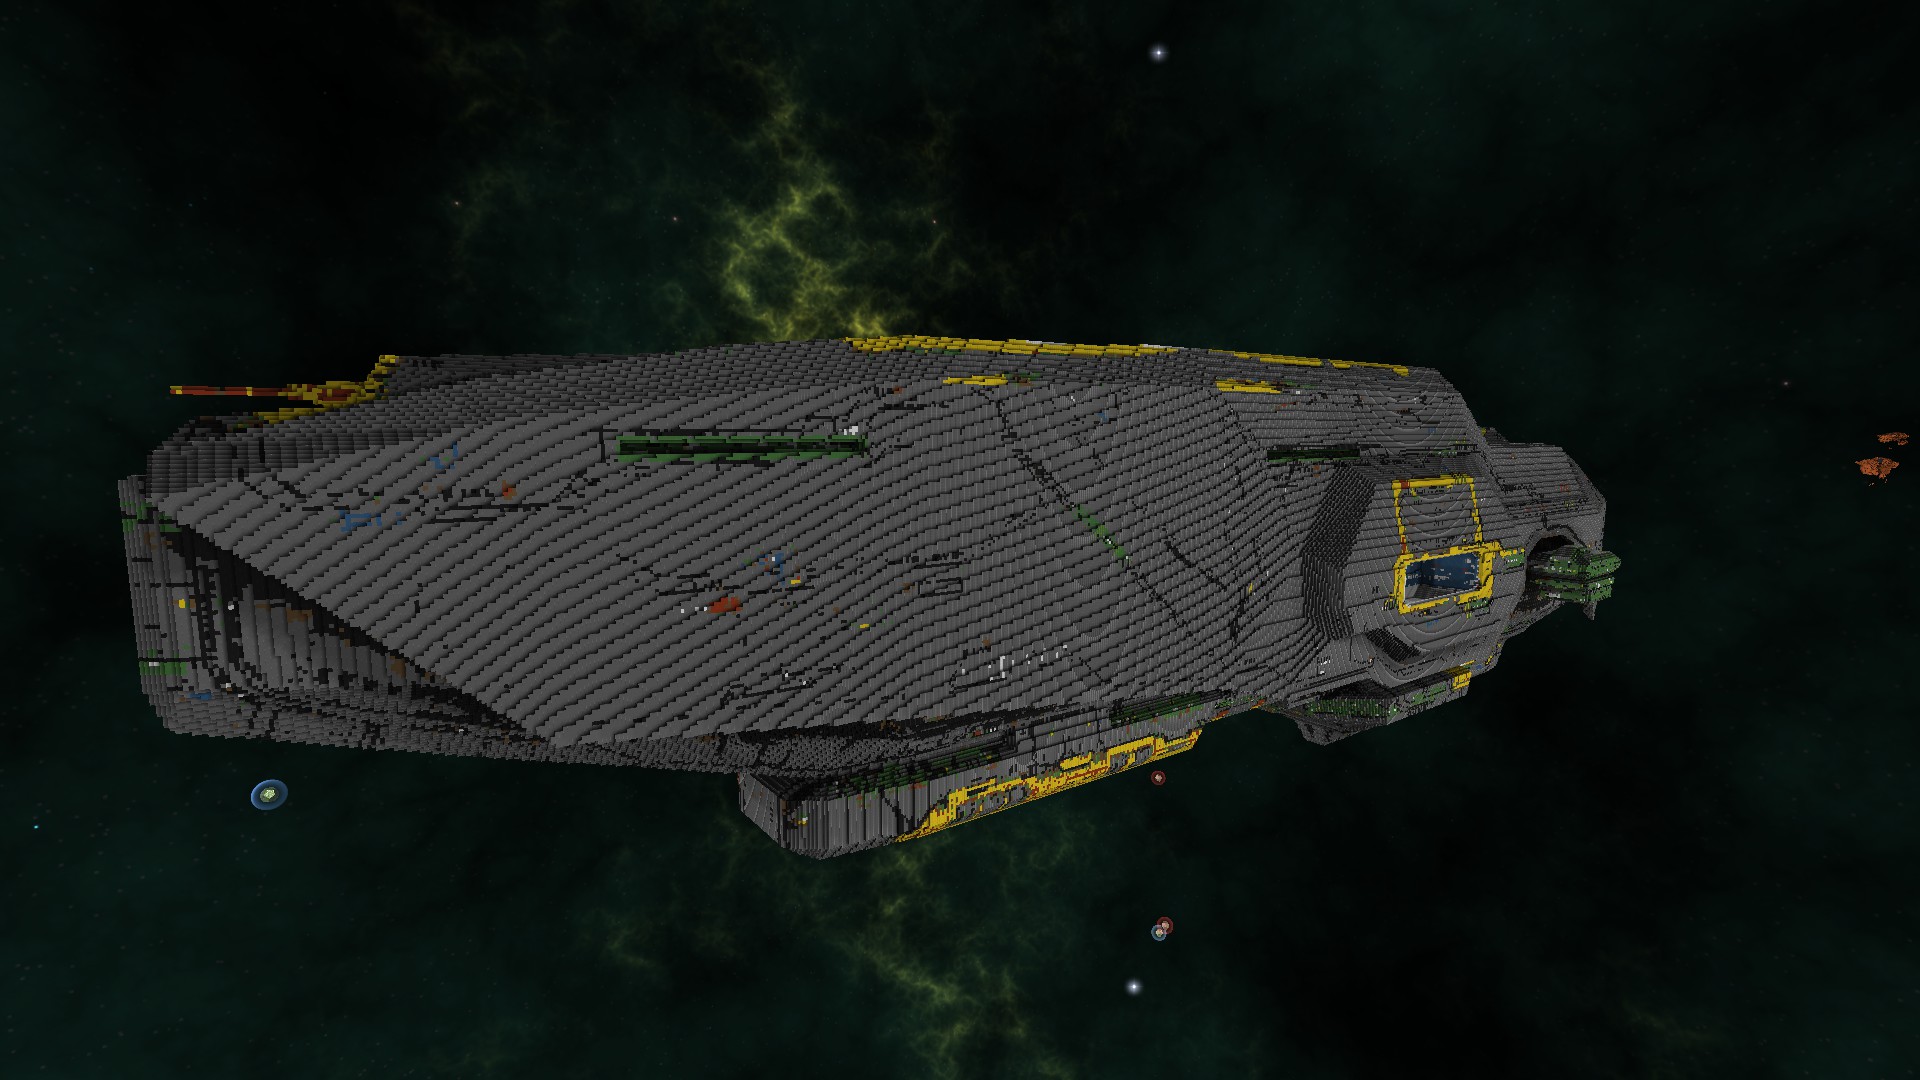
Let me first introduce a sample of converted ships: all the battlecruisers from EVE online, approximately 1:1.
You can download all 12 of the shells as a sample pack here: link
All symmetrical ships have been mirrored as well.
Now, onto the main point: What is this new method? Basically it's the conversion of a 3D model into a voxel/block format with something called poly2vox, converting the resulting file into a minecraft schematic with kv6ToSchematic, importing that into SMedit and saving it as a starmade blueprint.
Now why would you go through all that trouble? Let's see by comparing it to the two existing alternatives:

So, the main advantages are better quality than SMedit alone, consistent 1 block hull thickness, much quicker than binvox, support for more formats and support for texture to block colour mapping
The main disadvantage being the 256 height limit, which gets in the way of making really big things. For tall, thin ships you can get around this by rotating the model on its side in something like blender. Then again, most starmade ships fit into these box dimensions.
"That sounds great! I want to use this!"
Perfect! Let's get started then!
You'll need a couple of things:
Poly2Vox: Where the magic happens (download halfway down the page)
KV6toSchematic: A modified version. The standard version has a size limit of only 512x512x256 (and can be found here)
SMedit: It's outdated and slow, but you ain't got no choice, son.
Below you can find a detailed instruction on how to perform each step of the process.
Poly2vox Setup and Use
KV6toSchematic use
SMedit setup and use
After doing this a few times, the human parts of the process are actually quite quick and the conversion parts are even quicker.
For those who made it to the bottom of this post, and don't think they'll be able to get this to work, I'll help you out: reply with a link to a model you want to use, specify the maximum dimension and I'll convert it for you. Limit 1 per person for now. More if there's not much demand.
If anything isn't clear, please don't hesitate to ask.
In the past there were two ways of going about this: directly put an .obj file into SMedit or convert the .obj to .binvox first.
This guide describes a third alternative, which is far more accurate than SMedit's own polygon to block converter and orders of magnitude faster than the binvox route (once properly set up).
Let me first introduce a sample of converted ships: all the battlecruisers from EVE online, approximately 1:1.
You can download all 12 of the shells as a sample pack here: link
All symmetrical ships have been mirrored as well.
Now, onto the main point: What is this new method? Basically it's the conversion of a 3D model into a voxel/block format with something called poly2vox, converting the resulting file into a minecraft schematic with kv6ToSchematic, importing that into SMedit and saving it as a starmade blueprint.
Now why would you go through all that trouble? Let's see by comparing it to the two existing alternatives:

So, the main advantages are better quality than SMedit alone, consistent 1 block hull thickness, much quicker than binvox, support for more formats and support for texture to block colour mapping
The main disadvantage being the 256 height limit, which gets in the way of making really big things. For tall, thin ships you can get around this by rotating the model on its side in something like blender. Then again, most starmade ships fit into these box dimensions.
"That sounds great! I want to use this!"
Perfect! Let's get started then!
You'll need a couple of things:
Poly2Vox: Where the magic happens (download halfway down the page)
KV6toSchematic: A modified version. The standard version has a size limit of only 512x512x256 (and can be found here)
SMedit: It's outdated and slow, but you ain't got no choice, son.
Below you can find a detailed instruction on how to perform each step of the process.
Poly2vox Setup and Use
When you have downloaded the zip file from the site above, you'll want to extract poly2vox.exe from the file with 7zip, winrar or any other acrchiver. Unfortunately this is a command line program, meaning it doesn't have a user interface and just clicking it won't do anything.
You'll have to start by opening a command prompt (cmd.exe) and navigating to the directory where you put it by entering
or
if you saved it on a different drive than your OS is on.
if you now enter poly2vox in the command prompt, you should get a detailed description of all the parameters you can use here. For now we'll only be using the /v# parameter. This specifies the largest dimension of the resulting block/voxel model, which makes scaling ships quite easy.
Keep in mind that doubling the scaling factor will increase the conversion time by roughly a factor 8, (triple means waiting 27 times longer, etc.) so be careful what you put there.
Now is the time to find a nice 3d model and start converting it. I am using EVE-hurricane.stl as an example.
For ease of use, put it in the same folder as poly2vox.exe . And run the following command
Running this will output the following:
Here you can see the dimensions, scale factor, and the time it took to convert.
You now have a .kv6 file with voxel data! On to the next part!
You'll have to start by opening a command prompt (cmd.exe) and navigating to the directory where you put it by entering
Code:
cd <directory>
Code:
cd /d <directory>if you now enter poly2vox in the command prompt, you should get a detailed description of all the parameters you can use here. For now we'll only be using the /v# parameter. This specifies the largest dimension of the resulting block/voxel model, which makes scaling ships quite easy.
Keep in mind that doubling the scaling factor will increase the conversion time by roughly a factor 8, (triple means waiting 27 times longer, etc.) so be careful what you put there.
Now is the time to find a nice 3d model and start converting it. I am using EVE-hurricane.stl as an example.
For ease of use, put it in the same folder as poly2vox.exe . And run the following command
Code:
 poly2vox <filename> /v<largest dimensiom in blocks>
example:
poly2vox EVE-Hurricane.stl /v490
Here you can see the dimensions, scale factor, and the time it took to convert.
You now have a .kv6 file with voxel data! On to the next part!
KV6toSchematic use
This is actually the easiest part of the process, because this is a simple java program with an actual GUI.
Put kv6toschematic.jar in the same folder as poly2vox.exe for ease of use and just double click on the .jar.
For the best results select "Use default palette", "use wool blocks" and then simply select the file you want to convert. In this example, that would be EVE-Hurricane.kv6, click open, wait for the conversion to finish and then simply save the schematic at a location of your choosing.
Et voilá! That's the second step done.
SMedit setup and use
I'll only be going over setup and basic operations needed to get your ship into SMedit and to starmade, things like mirroring fall outside of this guide and are also covered by other tutorials out there.
The download link on the wikipage above gets you SMedit.jar. You can run this from any folder as long as you've set the starmade path in the launcher correctly. If you've installed starmade without steam you should know your install folder. If you are using steam you can go there by right-clicking on starmade in your library, clicking properties, going to the LOCAL FILES tab and clicking BROWSE LOCAL FILES.
When you first launch SMedit.jar you'll want to put the directory/path in the launcher. This should end in ../StarMade/StarMade for SMedit to function.
I also recommend 2 GB of RAM or more for larger operations (ships longer than 500 blocks or so)
Be sure to click apply so your settings are saved.
When you launch SMedit, it's quite likely that all the colour options are grey. This is normal and shouldn't matter for importing schematics (just inconvenient). You will also be looking at a standard ship from the front. It's useful to know where the axes of your ship are so click view->Axis to show them.
The z-axis will be toward you (bright blue) (you're looking at the front of a ship), the x-axis will be to the right (bright red), the y-axis will point upward (bright green).
We start by going to file->import->schematic and selecting the schematic you made earlier.
The imported schematic may be facing the wrong way. You can fix this with modify->rotate.
Pitch rotates the nose of your ship downwards, yaw rotates the front of your ship to the left (when aligned with the ship core) and roll rotates the ship clockwise along its length (anticlockwise if looking at it from the standard SMedit view, which is from the front.)
(rotations follow the right hand rule, if that's easier to remember for you)
Once you have your ship rotated you might want to relocate the core, since smedit puts it in the exact center of the ship and some ships have holes there. Or you might just want the core in a different location.
The core is located at the interesction of the three axes and can be moved with modify->move where you can specify how far along each axis you want the the core to be moved.
If you're all content with core location and the direction of the ship, you can save it as a blueprint by going to File->Save As->Blueprint.
You should now be able to load the blueprint from inside the game.
As small suggestion, if you want to look at the model from a different angle you can do so by clicking and dragging with the left mouse button. It can be quite a laggy thing to do, so you may want to turn off rendering for the ship entirely while you're moving about by clicking View->"Don't draw".
After doing this a few times, the human parts of the process are actually quite quick and the conversion parts are even quicker.
For those who made it to the bottom of this post, and don't think they'll be able to get this to work, I'll help you out: reply with a link to a model you want to use, specify the maximum dimension and I'll convert it for you. Limit 1 per person for now. More if there's not much demand.
If anything isn't clear, please don't hesitate to ask.