- Joined
- Jul 12, 2013
- Messages
- 17
- Reaction score
- 14
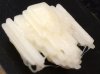
Actually that is less flexible. The 3D printer takes care of the support where there is open space using methods like Honeycomb, or in this case, Hex (I think that's what it was called). If you can find a way to ONLY make visible faces come up in the poly, that would be a lot better in this case. It also allows it to fill it faster, since it doesn't need to do "proper" layers that are visible.That was intended for stability of the printed object.
Regardless
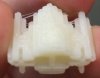
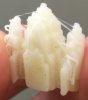
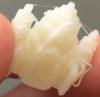
SUCCESS! :D

Camera evidently isn't fantastic. But still! :D
Attachments
-
 99.1 KB Views: 58
 -
 105.1 KB Views: 50
 -
 89.9 KB Views: 52
 -
 101.3 KB Views: 52
